Unknown Facts About Formica Countertop - Amazon.com


Facts About Cost of Formica Countertops - Calculate 2021 Prices & Install Revealed

Collect Tools Needed to Install Laminate Countertops Tools Product Jig Saw Drill and Drill Bit Block Plane Belt Sander Saw Horses Secures Caulk Weapon Rubber Mallet Hammer Handsaw Adjustable Wrench Screwdriver Sandpaper Measuring Tape Level Compass Safety Glasses Laminate Counter Top Smooth File Fastening Bolts Sealant Contact Adhesive Wood Glue Now that you have your tools and materials prepared to go, let's find out how to replace your counter tops.
Formica® Brand Laminate - Formica Corporation
and appropriate defense to avoid injury. with the laminated side facing down. with clamps. along the cutting area to avoid chipping. with a tape measure. over the tape utilizing a pencil and a square leg. with the line and cut carefully. after cutting to guarantee a smooth surface. Action 2: Examine Countertop Measurement Set the countertops in place and test the fit.
Get rid of the brand-new countertop and use a belt sander to sand the edge of the countertop for the very best fit. Action 3: Cut Buildup Strips To connect the countertop to base cabinets, you'll need to prepare the surface area for setup. Check to make blogspot.com will clear the edge of your new laminate counter top.

Sink Options for Laminate Countertops
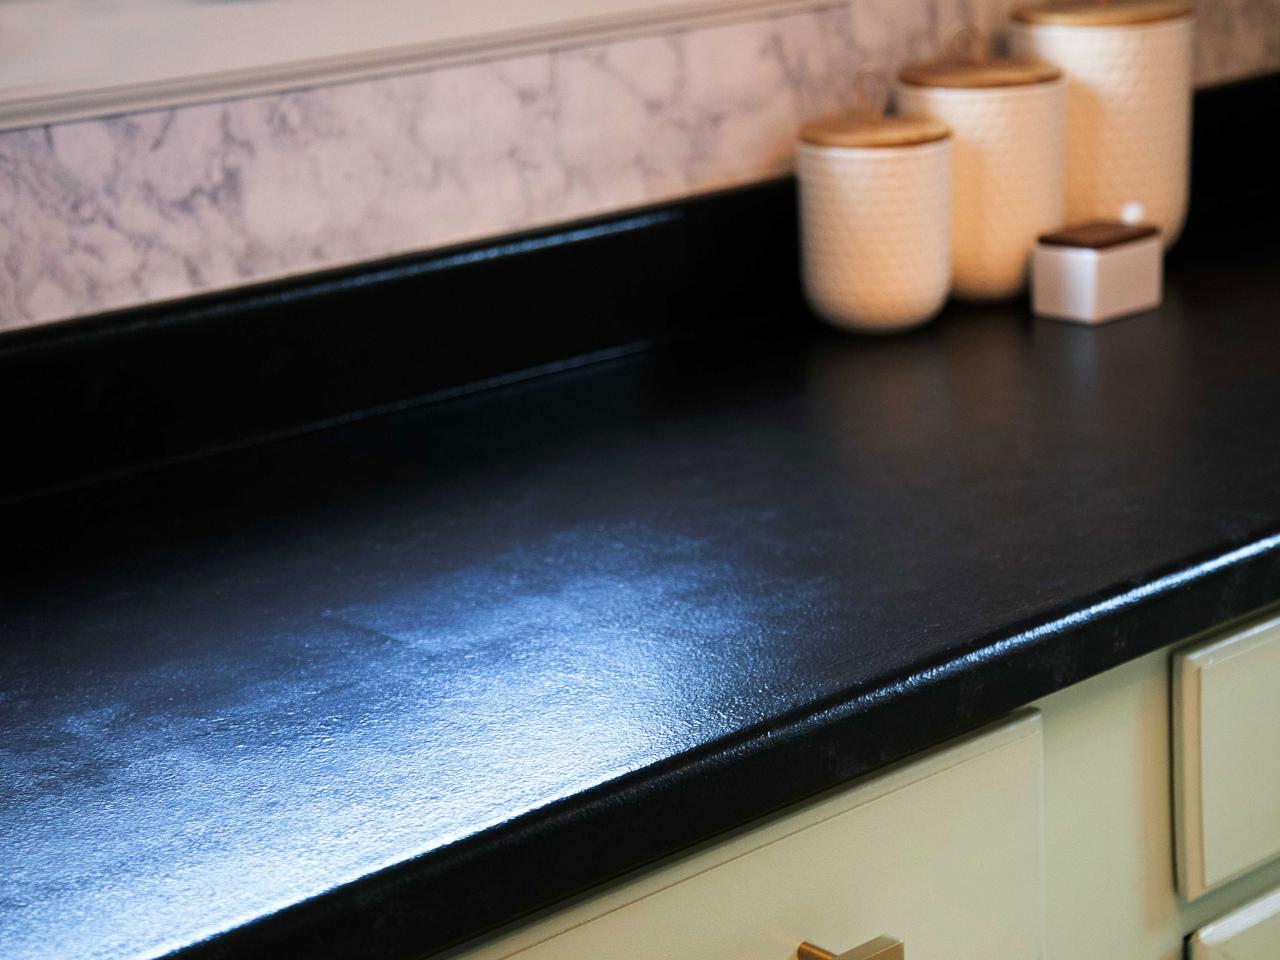
The Main Principles Of How to Paint Formica Countertops and Cabinets - Bob Vila
Next, cut buildup strips to set up at each corner below the counter. Screw down the buildup strips and predrill holes to quickly attach the counter top later on. Step 4: Secure Countertops to Cabinets To protect the counter top to the cabinets, position the countertop pieces on the cabinets. Use a bead of caulk or building and construction adhesive along the top edge of the cabinets that support the countertop.
Utilize a power drill to connect the accumulation strips to the new laminate. Verify the density of the countertop and accumulation strips to figure out the proper nail length to utilize. Step 5: Sign Up With Miters Under the Counter top To join the miters underneath the counter top, use the maker's advised amount of adhesive.
If needed, utilize a mallet and a scrap piece of wood to tap the seam up until even. Step 6: Seal the Joint In Between the Countertop and Wall Once whatever is attached, utilize adhesive to connect return splashes where the counter fulfills the walls and end trim to cover exposed edges.